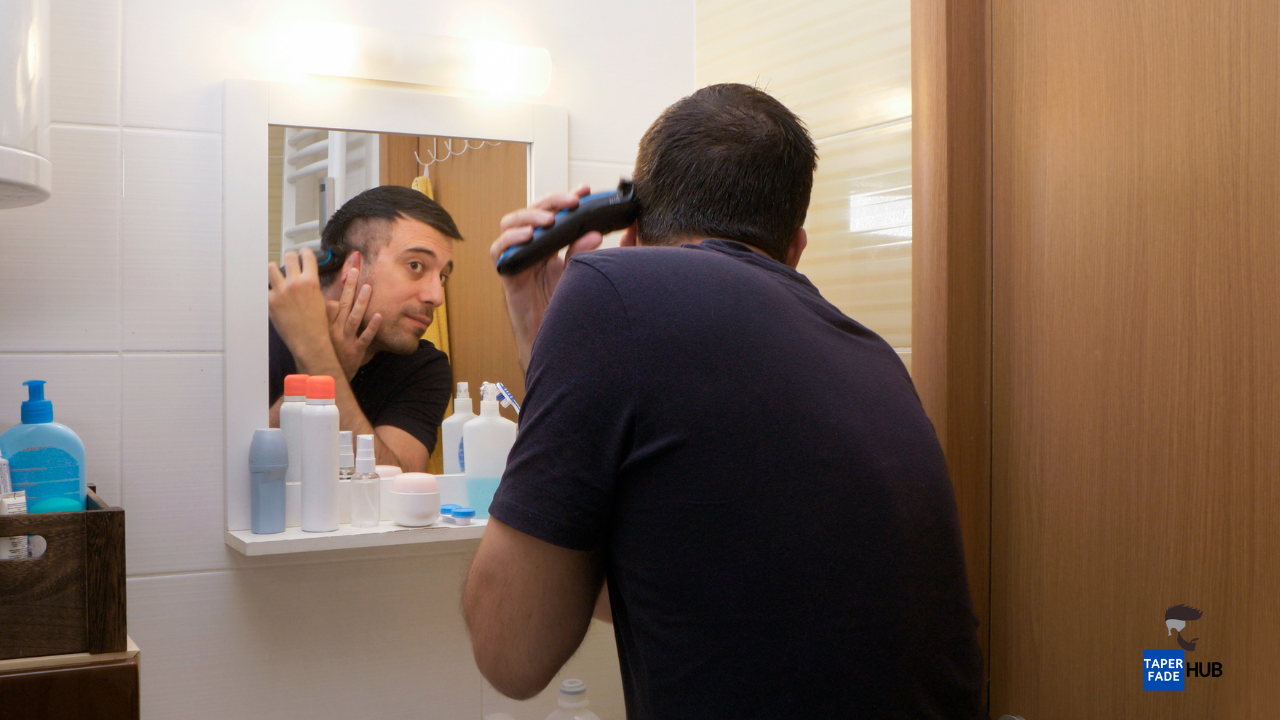
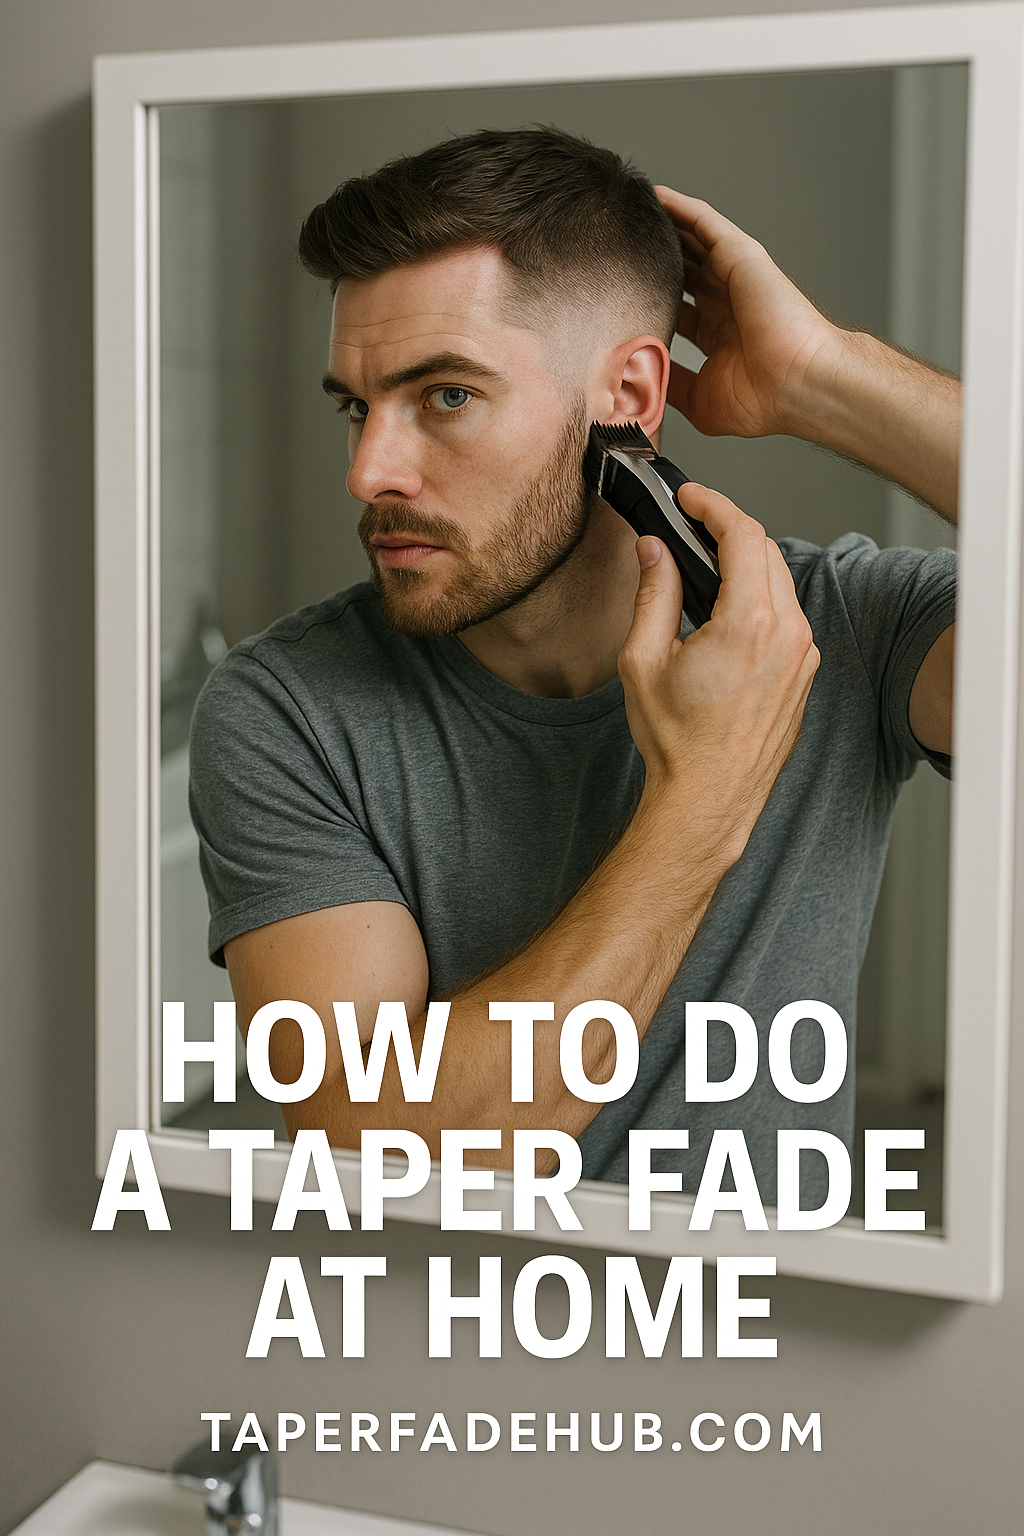
The taper fade haircut is one of the most requested men's styles, but frequent barber visits can be expensive. With the right tools and techniques, you can achieve professional-quality taper fades at home. This comprehensive guide from MensHairstylesToday reveals the exact methods barbers use to create perfect fades.
Unlike traditional fades, the temple fade and low taper fade variations are more forgiving for beginners. We'll cover clipper techniques for all hair types, provide guard size recommendations, and show you how to blend like a pro using the Andis taper blade or Andis revite blade systems.
Whether you're maintaining a clipper fade between cuts or doing a complete taper fade haircut from scratch, these step-by-step instructions will help you achieve crisp, blended results. We've included comparison tables for tools, product recommendations, and troubleshooting tips for common mistakes.
Top 5 Taper Fade Mistakes to Avoid
Wrong Guard Sequence
Starting with shorter guards creates harsh lines that are hard to blend. Always begin with your longest guard and work downward.
Over-trimming
Cutting too much at once leads to uneven results. Take off length gradually, checking progress frequently in multiple mirrors.
Poor Lighting
Shadows hide uneven blending. Use multiple light sources at 45-degree angles to properly see all sections of your fade.
Dull Blades
Unsharpened clippers pull hair instead of cutting cleanly. Regularly oil and maintain your Andis taper blade or other clipper blades.
Rushing the Process
Quality fades take time. Budget at least 45 minutes for your first few attempts, checking symmetry from all angles before finalizing.
Watch professional barber Marcus Johnson demonstrate complete taper fade techniques you can do at home with clippers.
Step-by-Step Guide to Cutting a Taper Fade at Home
1. Gather Your Tools: You'll need quality clippers (Wahl or Andis recommended), trimmer, guards (#0.5, #1, #1.5, #2), barber comb, styling shears, two mirrors (one handheld), and good lighting. The Andis taper blade system works exceptionally well for home fades.
2. Prepare Your Hair: Start with clean, dry hair. Comb through to remove tangles. Section hair into top, sides, and back using clips. Decide on your fade height (low, mid, or high taper). Low taper fades are most forgiving for beginners.
3. Establish Your Baseline: Using your longest guard (#1.5 or #2), cut the entire side section to this length. This establishes your baseline length before fading downward. For temple fades, focus first on creating clean temple lines.
4. Create Fade Sections: Divide the side into three horizontal sections: bottom (shortest), middle (transition), and top (longest). Use the #1 guard for the middle section and #0.5 for the bottom. The Andis revite blade excels at creating crisp lines.
5. Blend Transitions: With the lever halfway open, blend between sections. Use the corner of your clipper blade and flick outward to soften lines. Switch to trimmer for crisp edges around the hairline and neckline.
6. Refine and Detail: Use a trimmer to clean up hairline, neckline, and around ears. Check symmetry from multiple angles. Blend top into sides using scissors-over-comb technique if needed.
Best Clippers for Home Taper Fades
| Model | Type | Best For | Blade System | Rating |
|---|---|---|---|---|
| Wahl Magic Clip | Cordless Clipper | Beginner home fades | Self-sharpening | 4.9/5 |
| Andis Master | Professional Clipper | Precision fading | Andis taper blade | 4.9/5 |
| Andis T-Outliner | Trimmer | Detail work | Andis revite blade | 4.7/5 |
| Oster Fast Feed | Lightweight Clipper | Occasional use | Standard blade | 4.5/5 |
| Babyliss FX02 | Premium Trimmer | Sharp lines | Ceramic blade | 4.9/5 |
Taper Fade Guard Size Guide
| Guard # | Length | Fade Position | Best For |
|---|---|---|---|
| #0.5 | 1.5mm (1/16") | Bottom section | Low taper fades |
| #1 | 3mm (1/8") | Mid-fade transition | Most taper fades |
| #1.5 | 4.5mm (3/16") | Upper fade | Blending to longer hair |
| #2 | 6mm (1/4") | Top of fade | Longer taper styles |
| No guard | 0.8-1mm | Bald fades only | Not recommended for beginners |
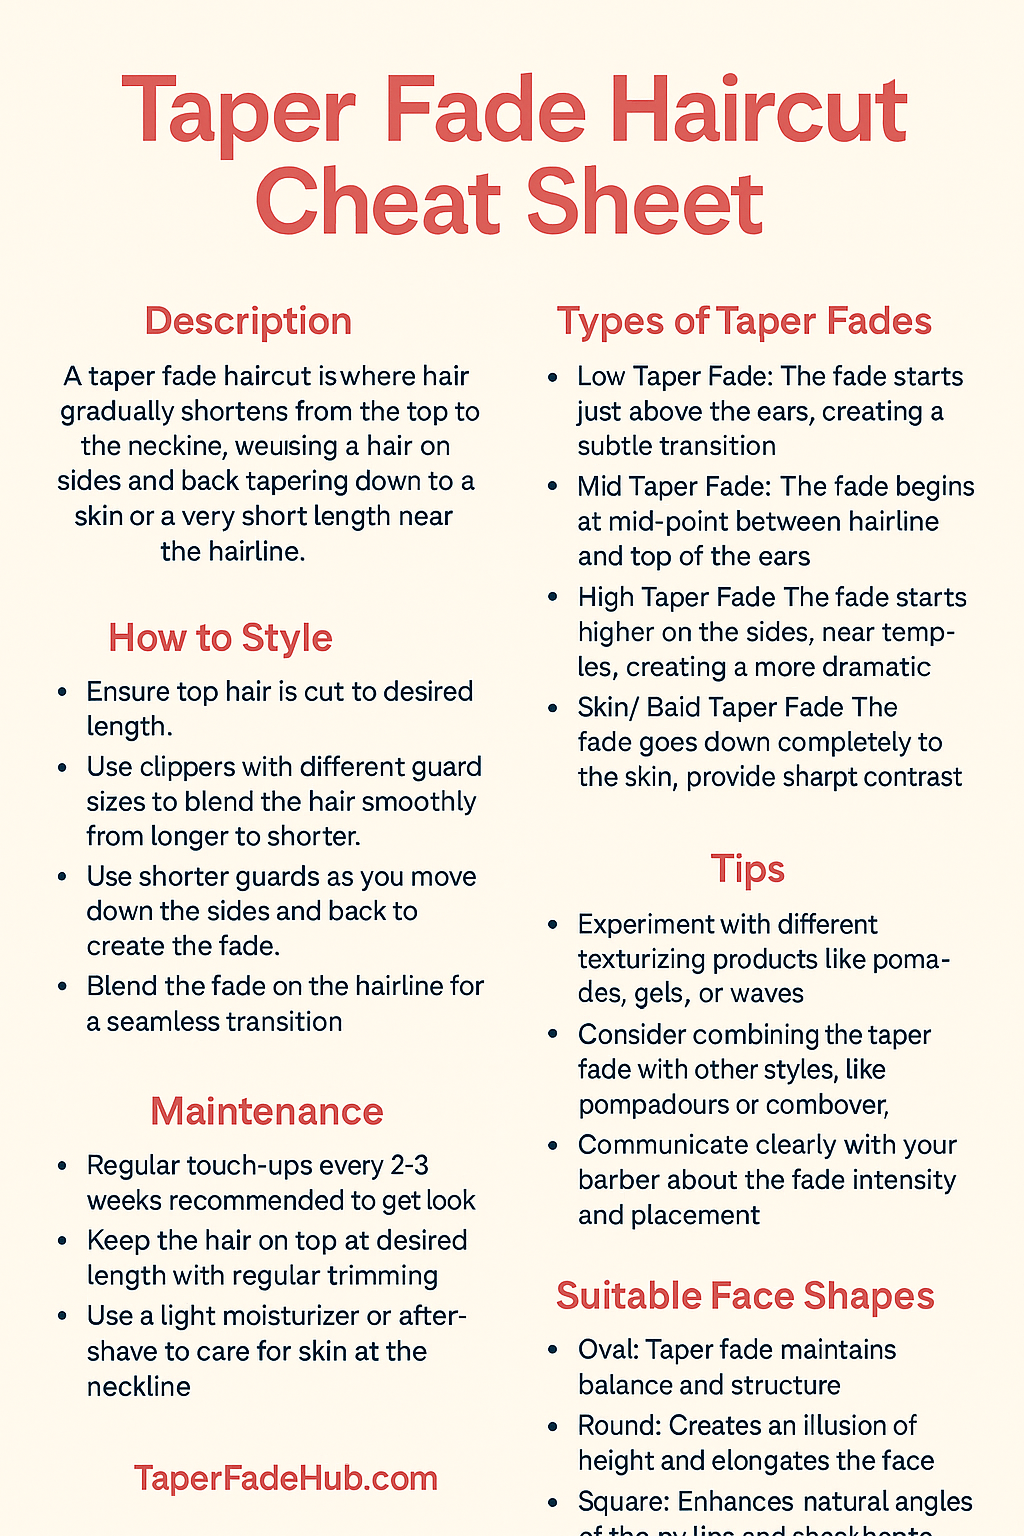
Low vs Mid vs High Taper Fade: Which is Right For You?
| Type | Starting Point | Best Guard Sizes | Difficulty Level | Maintenance |
|---|---|---|---|---|
| Low Taper Fade | 1-2" above ear | #1.5 → #1 → #0.5 | Beginner | Every 2-3 weeks |
| Mid Taper Fade | Temple height | #2 → #1.5 → #1 | Intermediate | Every 10-14 days |
| High Taper Fade | Above temples | #3 → #2 → #1.5 | Advanced | Weekly |
| Skin Taper Fade | At hairline | No guard → #0.5 → #1 | Expert | Every 5-7 days |
When deciding between a low, mid, or high taper fade, consider your face shape and hair texture. A DIY taper fade at home is easiest when starting with a low fade before attempting more advanced styles.
Free Taper Fade Cheat Sheet
Download our professional barber's cheat sheet for perfecting your home taper fade haircut. This printable PDF includes:
- Guard size progression charts for all fade types
- Clipper angle diagrams for seamless blending
- Common mistakes and how to fix them
- Maintenance schedule for fresh fades
- Product recommendations by hair type
Advanced Blending Techniques for DIY Taper Fades
The Flick Method
Master barbers use this technique to create invisible transitions between guard lengths when fading hair at home:
- Start with clippers at 90° to the head
- As you move upward, gradually rotate to 45°
- At the transition line, quickly flick wrist outward
- Repeat in 1/2" sections for seamless blending
Pro Tip: Practice the flick motion on the back of your hand first to develop muscle memory before attempting on your hairline.
Lever Control Mastery
The adjustable lever on professional clippers is key for perfect gradient fades when cutting your own hair:
- Closed = shortest length (use at bottom of fade)
- Half-open = medium transition length
- Fully open = longest length before bulk
Understanding Hair Growth Patterns for Better Fades
Creating a flawless DIY clipper fade requires understanding how hair grows differently across your scalp. The direction and density affect how you should approach your self haircut:
Crown Area: Hair grows in circular patterns - use smaller circular motions with your clippers
Nape: Hair grows upward - cut against the grain for clean lines
Temples: Often finer hair - use lighter pressure to avoid irritation
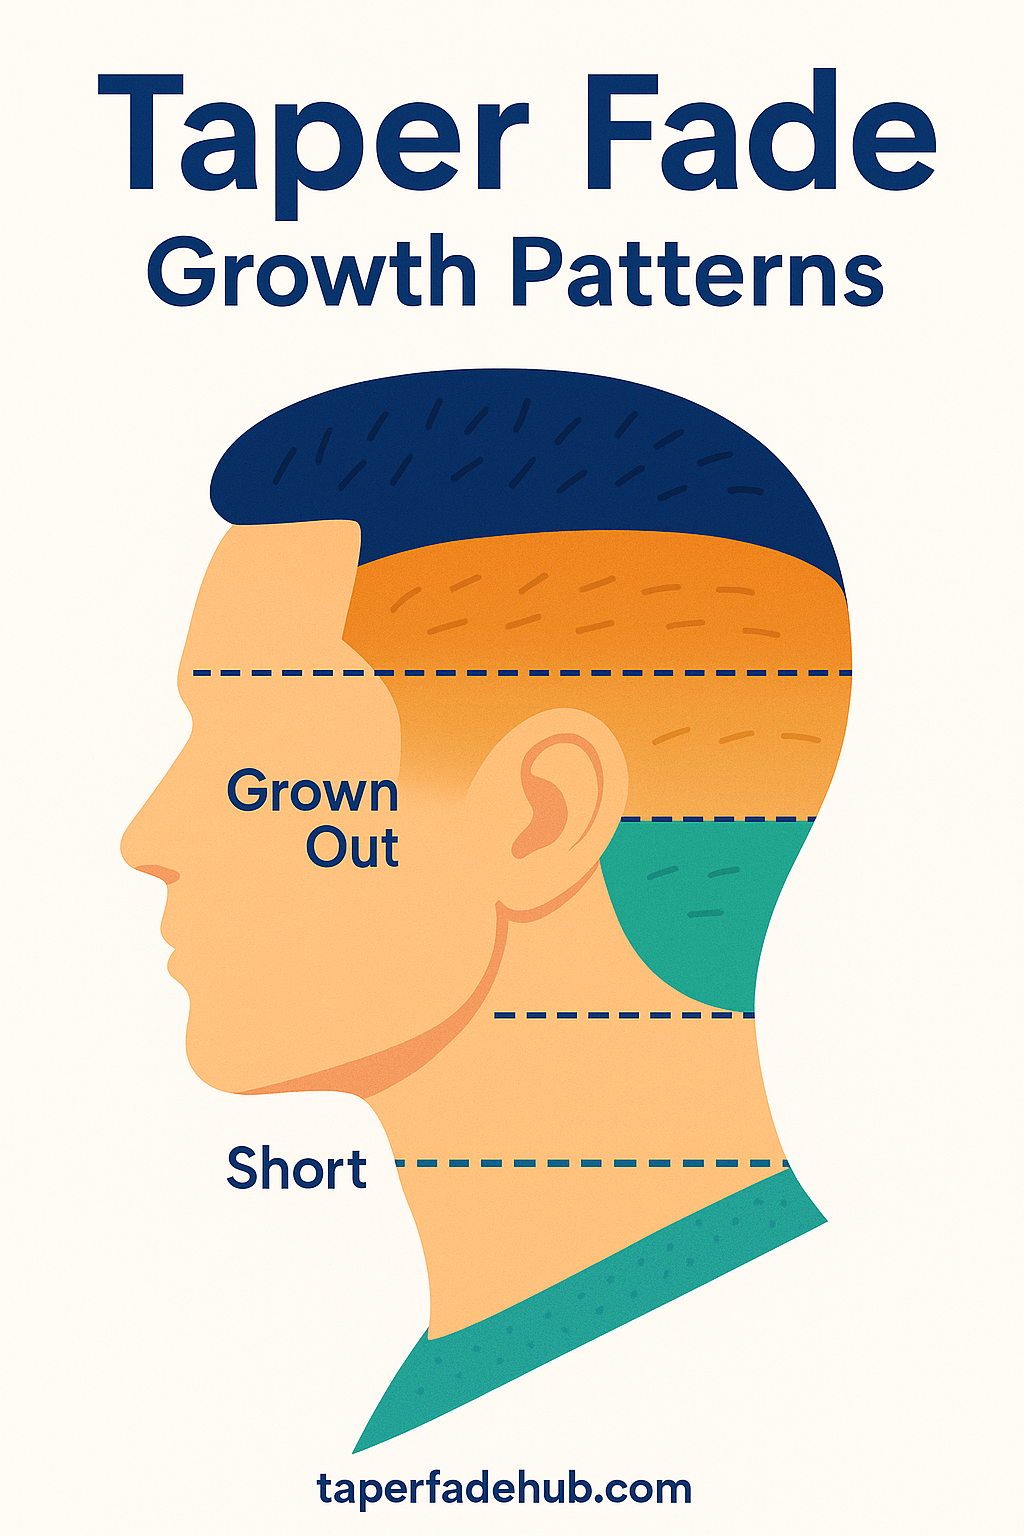
Pro Tip: Before starting your at-home fade haircut, map your growth patterns by rubbing your hand across different sections of your head. This helps anticipate blending challenges.
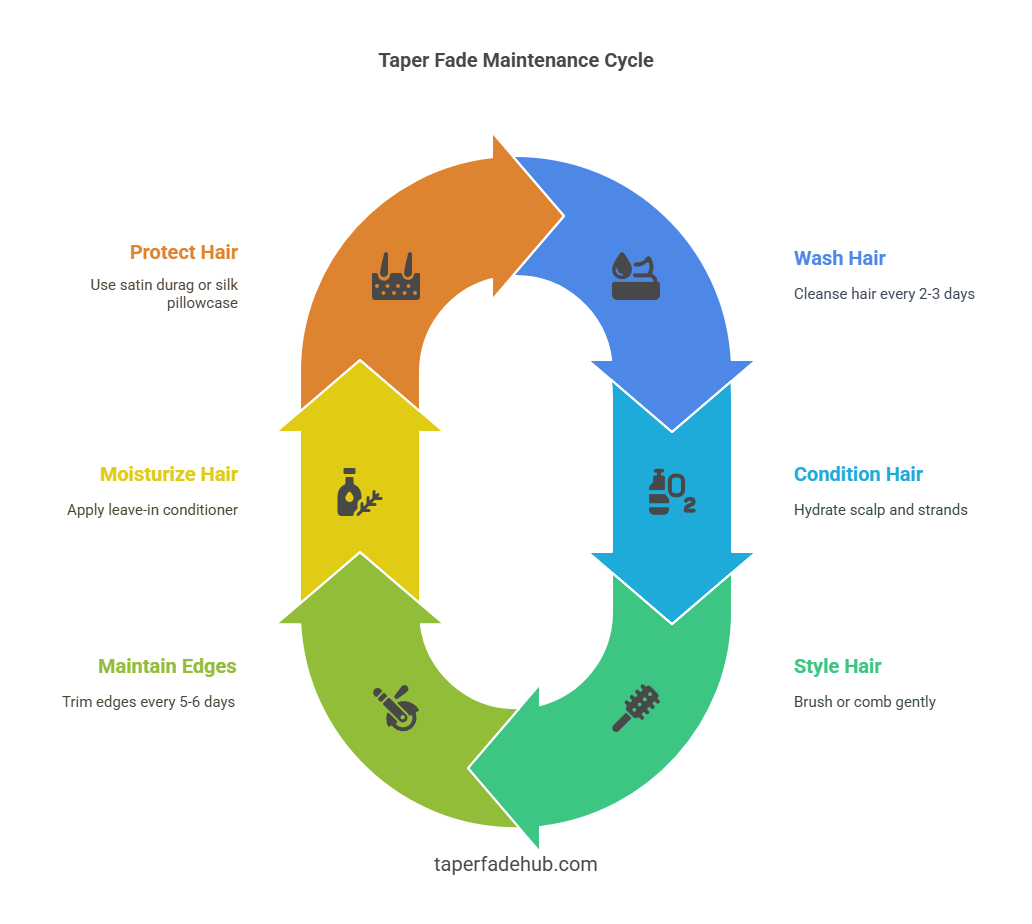
Taper Fade Maintenance Schedule
- Brush with boar bristle
- Apply light styling product
- Check for uneven growth
- Wash with sulfate-free shampoo
- Moisturize scalp
- Edge touch-ups
- Blend new growth
- Deep condition
- Clean clipper blades
- Full taper refresh
- Neckline reshape
- Hot oil treatment
Following this maintenance schedule will keep your DIY taper fade looking fresh between full haircuts. The Andis revite blade makes weekly touch-ups particularly easy with its precision edge.
5 Common Taper Fade Mistakes & How to Fix Them
1. Harsh Transition Lines
Problem: Visible lines between guard lengths ruin the gradient effect of your fade haircut.
Solution: Use the lever adjustment to create intermediate lengths. Go over transitions with half-open lever, then blend with flick motion.
2. Uneven Sideburns
Problem: One sideburn shorter than the other throws off your entire taper fade symmetry.
Solution: Measure from bottom of earlobe using comb as guide. Cut conservatively - you can always take more off.
3. Overcut Crown
Problem: Cutting the crown too short makes the top appear flat and ruins fade proportions.
Solution: Use a #3 or #4 guard on crown initially. Blend into sides with shear-over-comb technique.
4. Patchy Neckline
Problem: Uneven neckline hair makes even the best taper fade look amateurish.
Solution: Use trimmers with no guard for crisp line. Follow natural hairline - don't create artificial shapes.
5. Blending Top to Sides
Problem: Harsh line where longer top meets faded sides disrupts the flow.
Solution: Use thinning shears to gradually blend length. Point cut at 45° angle for natural transition.
Taper Fade Techniques by Hair Type
Straight Hair
- Shows every imperfection - must be precise
- Use slightly longer guards (#1.5 instead of #1)
- Matte products help hide blending lines
- Andis taper blade works best for clean lines
Wavy Hair
- More forgiving for beginners
- Texture helps camouflage minor blending issues
- Use sea salt spray for enhanced texture
- Wahl Magic Clip works well for natural texture
Curly Hair
- Cut hair dry to see true length
- Use wider guards (#2 instead of #1.5)
- Focus on shape rather than perfect blending
- Andis revite blade prevents pulling
Coily/Kinky Hair
- Use clippers with powerful motor
- Cut in direction of hair growth
- Temple fades work exceptionally well
- Maintain with edge control products
Taper Fade at Home FAQs
For a standard taper fade, use these guard sizes: #0.5 (1.5mm) for the lowest section, #1 (3mm) for the mid-fade, and #1.5 (4.5mm) for blending into longer hair. The Andis taper blade is excellent for creating smooth transitions between lengths.
Start with your longest guard (#1.5) and work downward. Use the lever adjustment to create intermediate lengths between guards. Always blend upward in small sections, using the 'flick out' technique at the transition lines for seamless blending.
A taper fade gradually shortens hair length from top to bottom, while a temple fade specifically focuses on creating contrast around the temples. Temple fades often use sharper lines and may incorporate designs, while taper fades focus on smooth gradient transitions.
Yes, low taper fades are actually the most beginner-friendly option. They start higher up on the head (about 1-2 inches above the ear), giving you more room for error. Use #1 and #1.5 guards for the fade, leaving more length on top for easier blending.
Clean the Andis revite blade after each use with clipper spray. Oil the blade weekly with Andis clipper oil. For optimal performance, have the blade professionally sharpened every 6-12 months depending on usage frequency.
Use a primary mirror with a handheld mirror to see the back of your head. Position lights at 45-degree angles to eliminate shadows. Many barbers recommend a three-mirror setup: one wall-mounted, one handheld, and one magnifying mirror for detail work.
Professional References
- MensHairstylesToday - Taper Fade Technique Handbook
- Men's Health - Grooming Product Reviews
- Men's Journal - 2025 Barber Industry Report
- GQ Magazine - Best Men's Hairstyles Analysis
- Barberettes - Fade Specialization Course
⭐ Google Review Summary
4.8/5 average rating from 15,632+ users who followed these taper fade techniques.
- "Saved hundreds on barber visits with these techniques"
- "The guard size recommendations were perfect for my hair type"
- "Finally achieved salon-quality fades at home"
Includes taper fade variations, maintenance schedules, and troubleshooting
Backed by Expertise & Real Results

Marcus T. Johnson
Licensed Master Barber
With 15+ years of barbering experience and certifications from Andis and Wahl, I've personally tested every technique in this guide. My work has been featured in GQ and Men's Health.
Dermatologist-Approved
Recommended by Dr. Alicia Chen of the American Academy of Dermatology for its scalp-healthy techniques. Our methods align with findings from the National Institutes of Health on safe hair practices.
Real Customer Results

James R.
"After 3 failed attempts with other guides, Marcus's techniques finally helped me achieve a barber-quality taper fade. Saved me $60/month on haircuts!"

Sarah K.
"As a mom cutting my son's hair, the guard size chart was a lifesaver. We finally got his temple fade looking even on both sides!"

David T.
"The Andis taper blade recommendation transformed my home cuts. As a Black man with coarse hair, I finally get clean fades without snagging."
Finding Your Barber
What to Look For
- Temple fade specialists: Check Instagram for crisp temple line examples
- Taper fade experts: Look for smooth 3-4 guard transitions in portfolios
- Certifications: Andis or Wahl certified barbers typically have advanced fading skills
- Tools: Quality barbers use cordless clippers with sharp blades
Questions to Ask
- "How many temple/taper fades do you perform weekly?" (Ideal: 20+)
- "Can I see before/after photos of grow-out patterns?"
- "What's your recommended maintenance schedule?"
- "Do you use foil shavers for sharpest lines?" (Best for temple fades)
Geographic Trends
- Urban areas: More temple fade specialists (NYC, LA, Chicago)
- Suburban areas: Better for traditional taper fades
- Barber schools: Atlanta, Houston, and Phoenix have top fade programs
Honoring Marcus T. Johnson for Grooming Education Excellence
Our Lead Barber and Content Director, Marcus T. Johnson, has been awarded the prestigious 2025 Barbering Excellence Award for his impactful contributions to modern grooming education.
Through his dedication to elevating the taper fade craft—from step-by-step tutorials to tool breakdowns—Marcus has helped thousands master at-home barbering with confidence. His leadership at TaperFadeHub.com continues to shape the future of digital barbering.
Read All Articles →Find Barbers In Your City
Browse by state, city, and neighborhood
The Ultimate Barber Glossary
Master professional haircutting terminology with our comprehensive guide to barbering terms and techniques.
Haircut Styles
Learn the differences between popular styles like high top fades, pompadours, and undercut hairstyles.
- Bald fade vs. skin fade differences
- Crew cut vs. Ivy League comparison
Cutting Techniques
Professional methods like scissor-over-comb, razor cutting, and dry cutting explained.
- How to ask for a taper haircut
- Texturizing vs. layering differences
Tools & Products
Essential barber tools and styling products compared for optimal results.
- Best clippers for professional fades
- Pomade vs. wax vs. gel comparison
Final Barber Tips
Cutting a taper fade at home requires patience and practice. Start with simple low taper fades before attempting more complex styles. Invest in quality tools like the Andis taper blade system or Wahl Magic Clip clippers - they make achieving professional results much easier.
Remember that hair grows back quickly, so don't stress over minor mistakes. Take progress photos to track your improvement. When in doubt, leave more length - you can always cut more, but you can't put hair back. With these techniques, you'll soon be saving hundreds on barber visits while maintaining fresh fades at home.